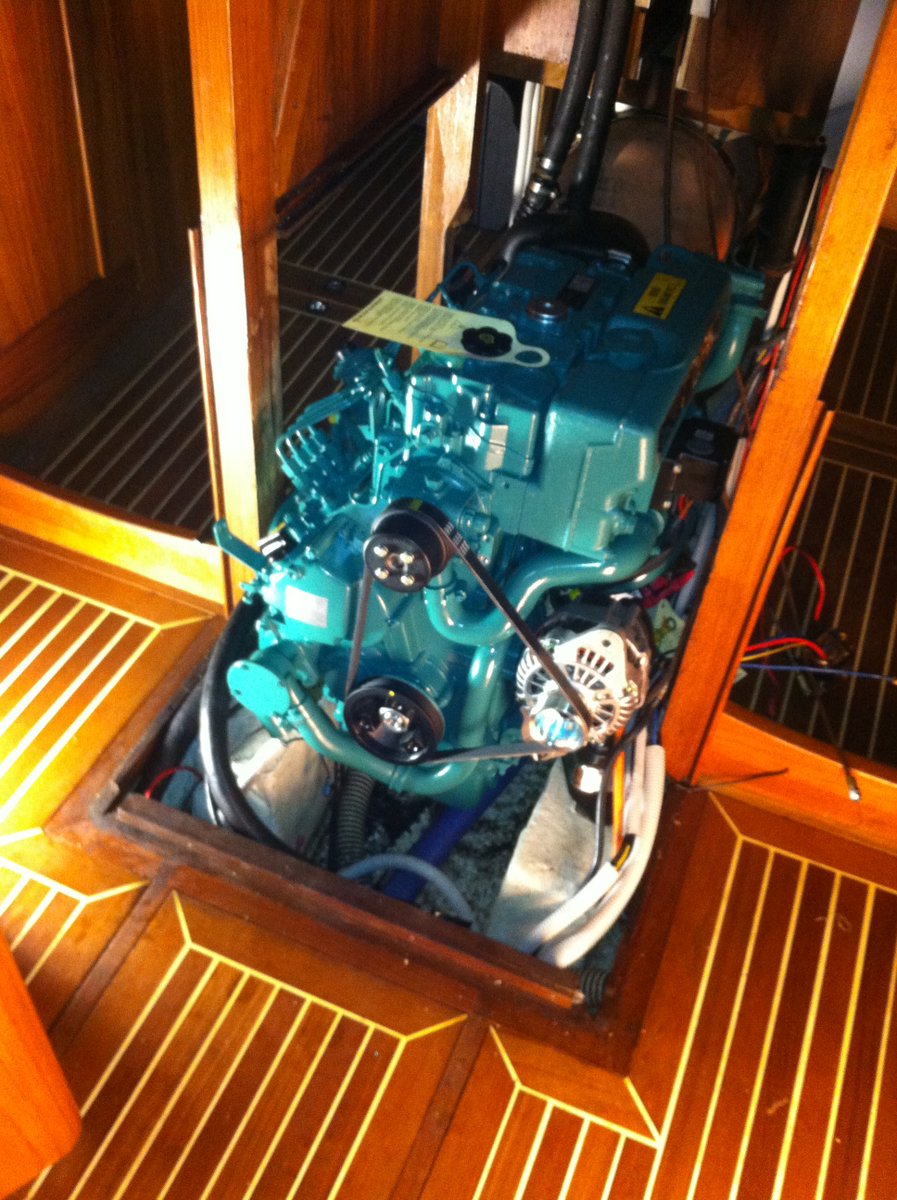
2014-08-31
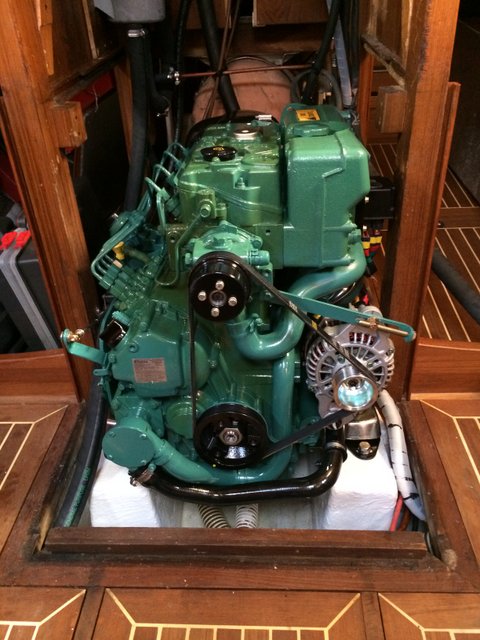
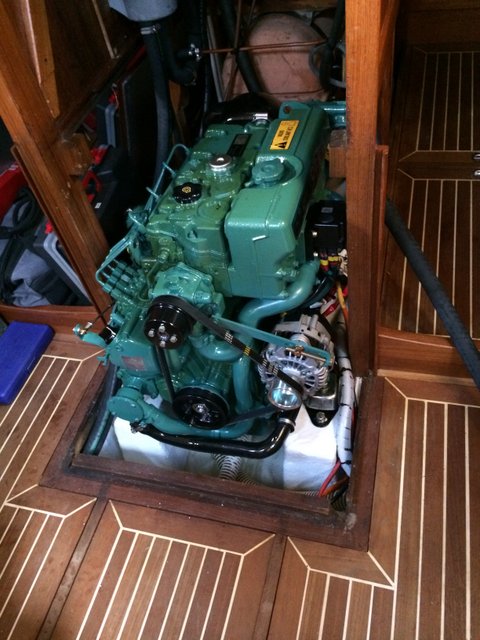
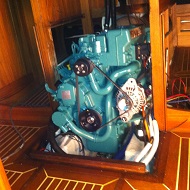
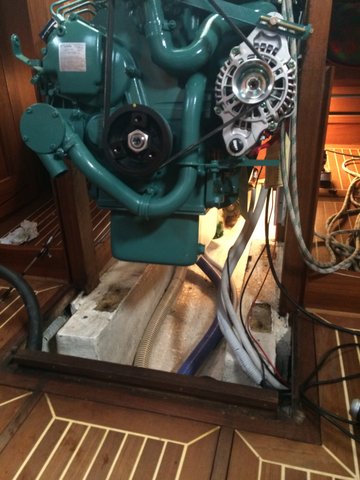
Inserting a copuple of pics of the finished installation. Unforunattely was the corrosion protection shield I sprayed on the engine not so resistant to heat, it has now been slightly discolored, making the engine look 10 years old, but on the hour meter it says 41 hours ;)

2014-05-06
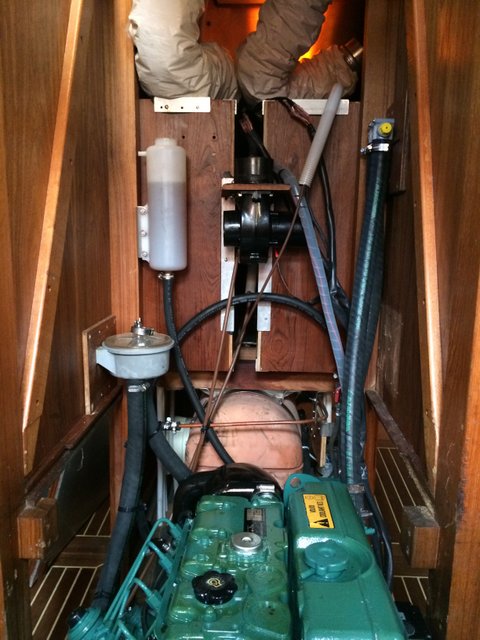
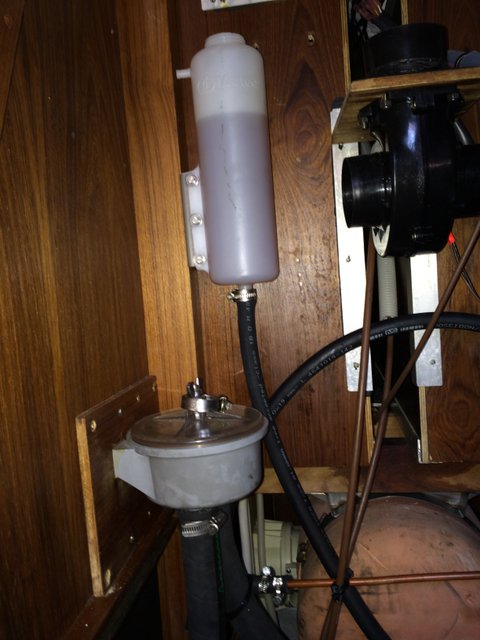
With the engine came trhee cable harensses, two 3-mters and on 1,5 meters, I thought that I only needed a single harness between the engine and control panel, but no, a double harness was need ed so I needed to buy one additional 5 meter harness, 90 euro thank you, no way, so I extended the two 3-mter harnesses, worked perfectly, otherwise everything is great. Have also replaced all 1" water hoses and rellocated some of the equipment (anti-siphoning valve, the reservoir for the prop shaft throu-hull bearing and the sea water filter).
I now concider this project completed, it was a fun job that sometimes felt a little too much, but it worked out just great, nothing that I would like to have done with a time constrain.
2014-04-23
Started the engien today, had a slight problem with the throttle, it didnt respond and was a little sluggish, it turned out to be the firewall valve, it was not tightened properly tightened on the hose side. After that it responded as expected.
Klick on the pictue below to see a small quick time movie sequence of the engine start.
2014-04-19
So, after one week of vacation spent in Italy on a bicycle I am again ready for some serious maintenance.
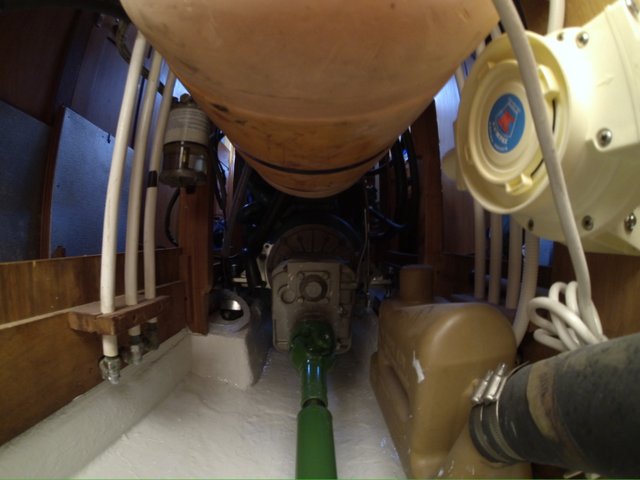
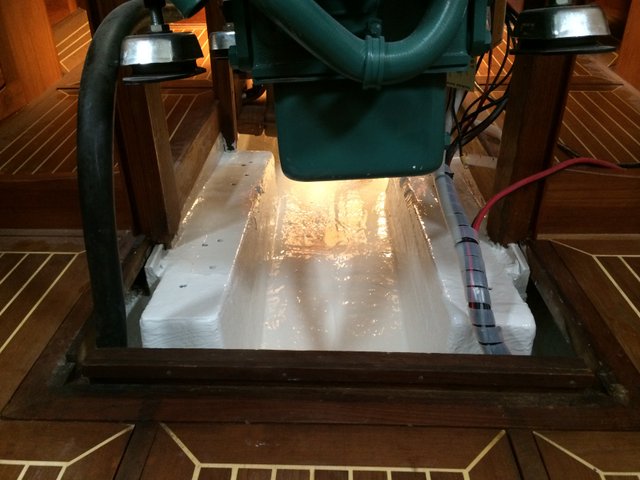
Today I lowered the engine down to the newly painted engeine bed and compartement, connected the throttle and gear shifter cables, cooling pipes and diesel in and return. Unfortunattely I found out that I need one more cable extension for the harenss between the engine and engine control panel at the helm so I cannot start her up.
I had to remove some of the bed because I thought that the widest part of the engine was very close to the bed, dont want to found out later that the engine vibrates aginst the bed making great noise, better safe than sorry.
2014-03-27
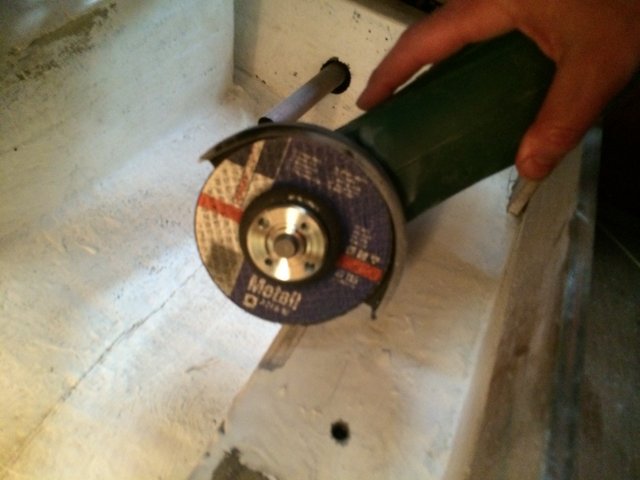
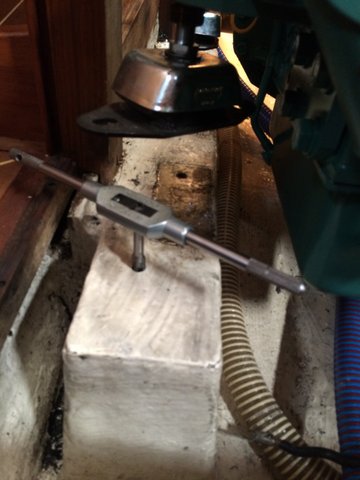
Today I measureed, marked, drilled (in three stages
3, 8 and 10 mm) for the four new engine mounts ...
It all was a little of a huzzle, it was not good of space and I was working
in an odd position, but I am not bitter.
Finaly I found out that working with the adjustable wrench was actually the
easiest, concidering the position of the holes and the layout of the interiour.
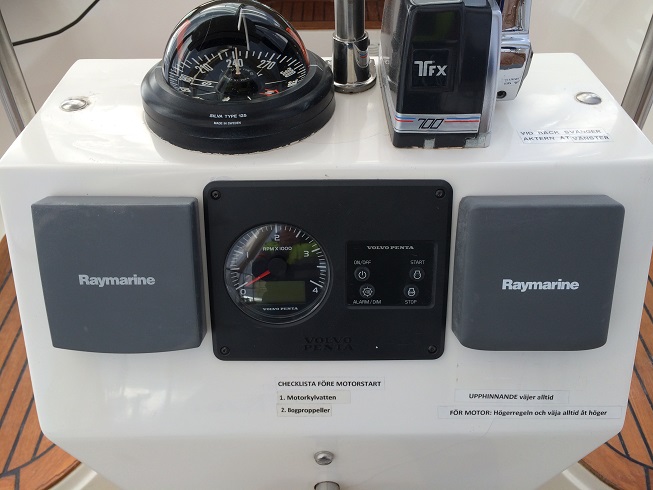
2014-03-23
Today I installed the new instrument panel, went really well except for that one of the 4 screws securing it chipped a bit of the gelcoat, damn, I should have used a 3 mm drill instead of the 2.5 to do their holes, you might see it, it is in the upper left corner...
Ja ja, as Benny Hill said it "learning all the time" ;)
2013-12-28
Finally I have found the time to write down some notes about the engine replacement.
So, I had two of my friends and the new owner to the old steamer helping me to remove and install the engines, at the moment the new engine is only loosely placed in the engine bed on the new shock absorbers. I have to extend the propeller axle since the new engine is quite shorter, it seems as if I need to extend it about 10-15 cm (4-6 inches), my preferences are that I want the engine as forward as possible since she is a bit heavy on the tail from before.
These arrangements are identified:
1. Re-route the exhaust hose
2. Re-route the sea water cooling hose
3. Mount the new shock absorbers, they are bigger than the previous and has
therefore not the same bolt dimensions
4.
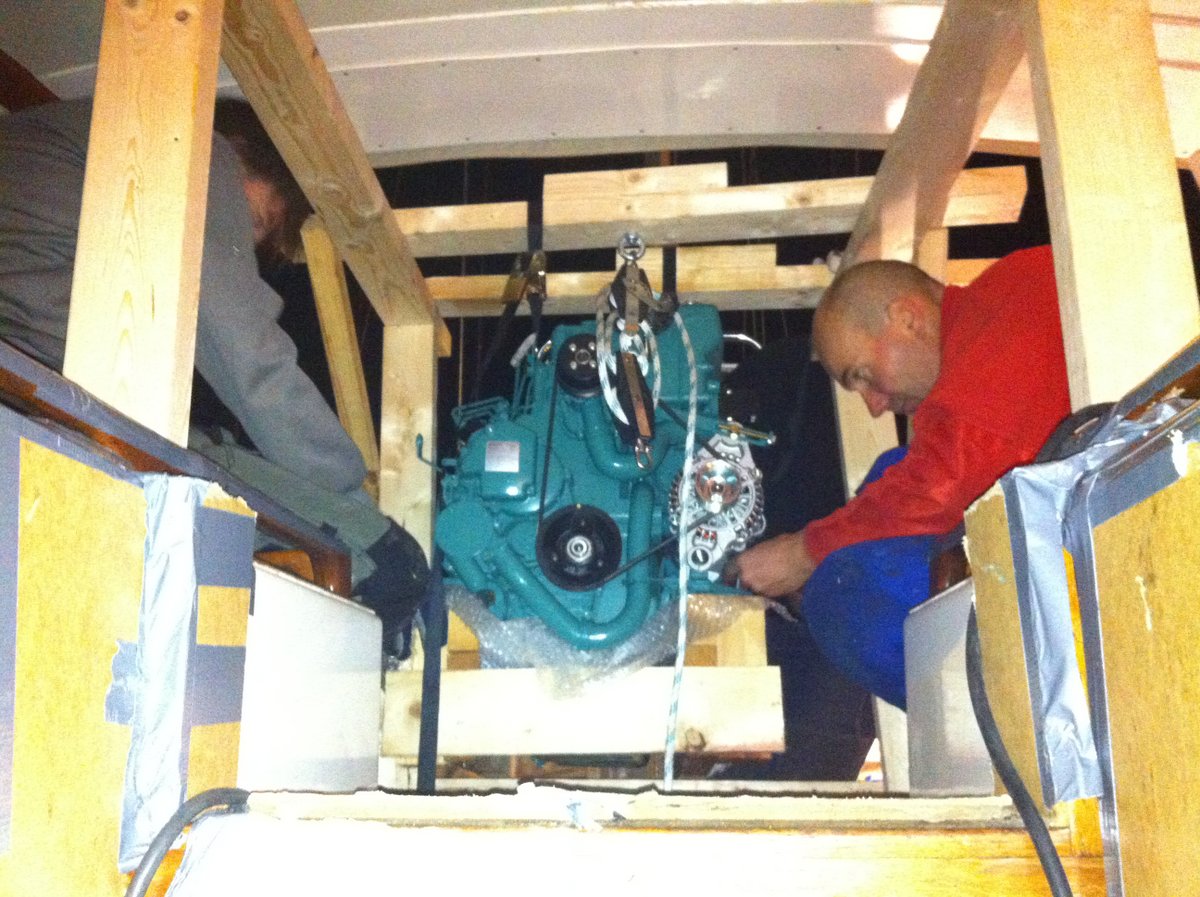
Here are a couple of pics from the removal/installation.
To protect the walls I had a thin strong fiber panel taped to each side
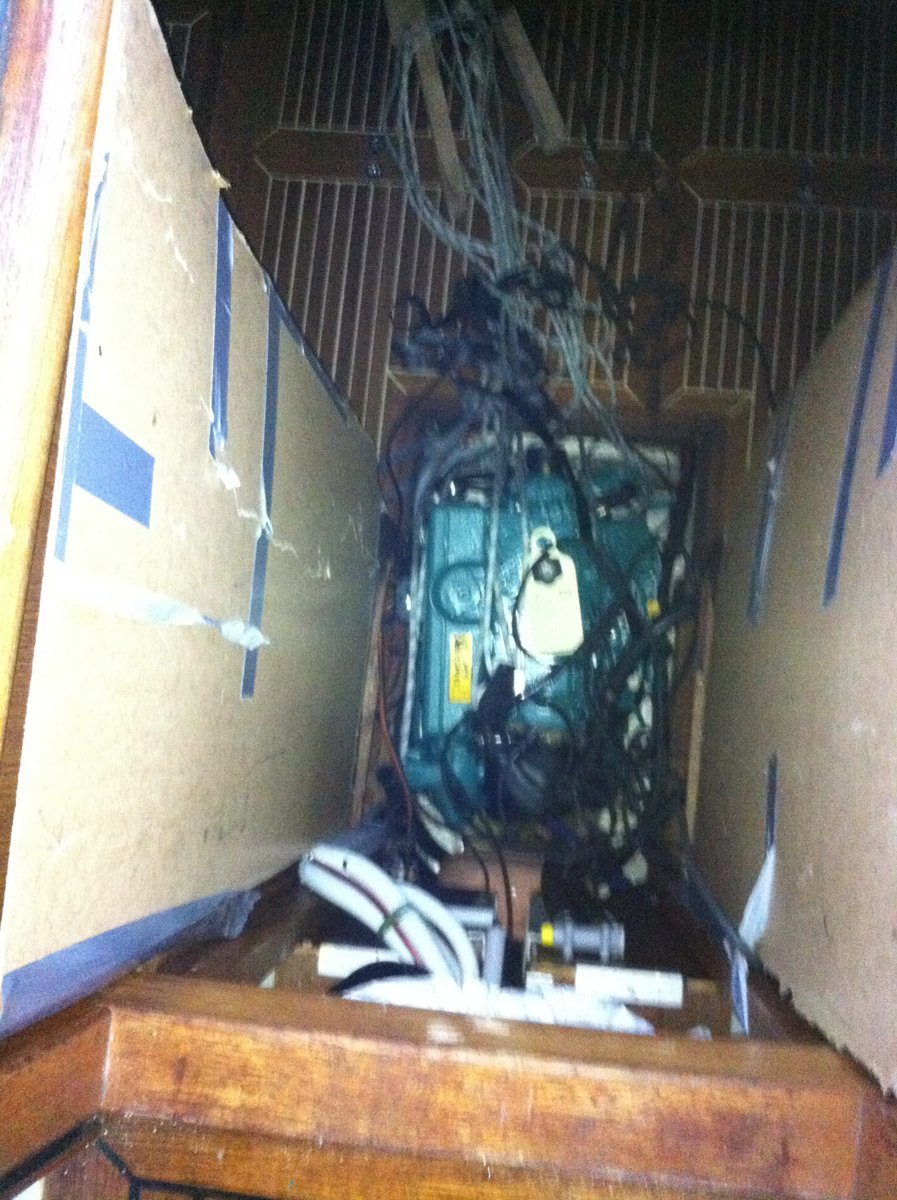
Note the dual hoisting devices (4 totally) we had to use since the strong ones didnt thke the engine high enough to pass the treshhold of the gangway, i dont need to say it was exciting to uncouple them one by one relefing the weight in sequence, I think if the engine would have falled it would only had stopped on the sea bed floor.
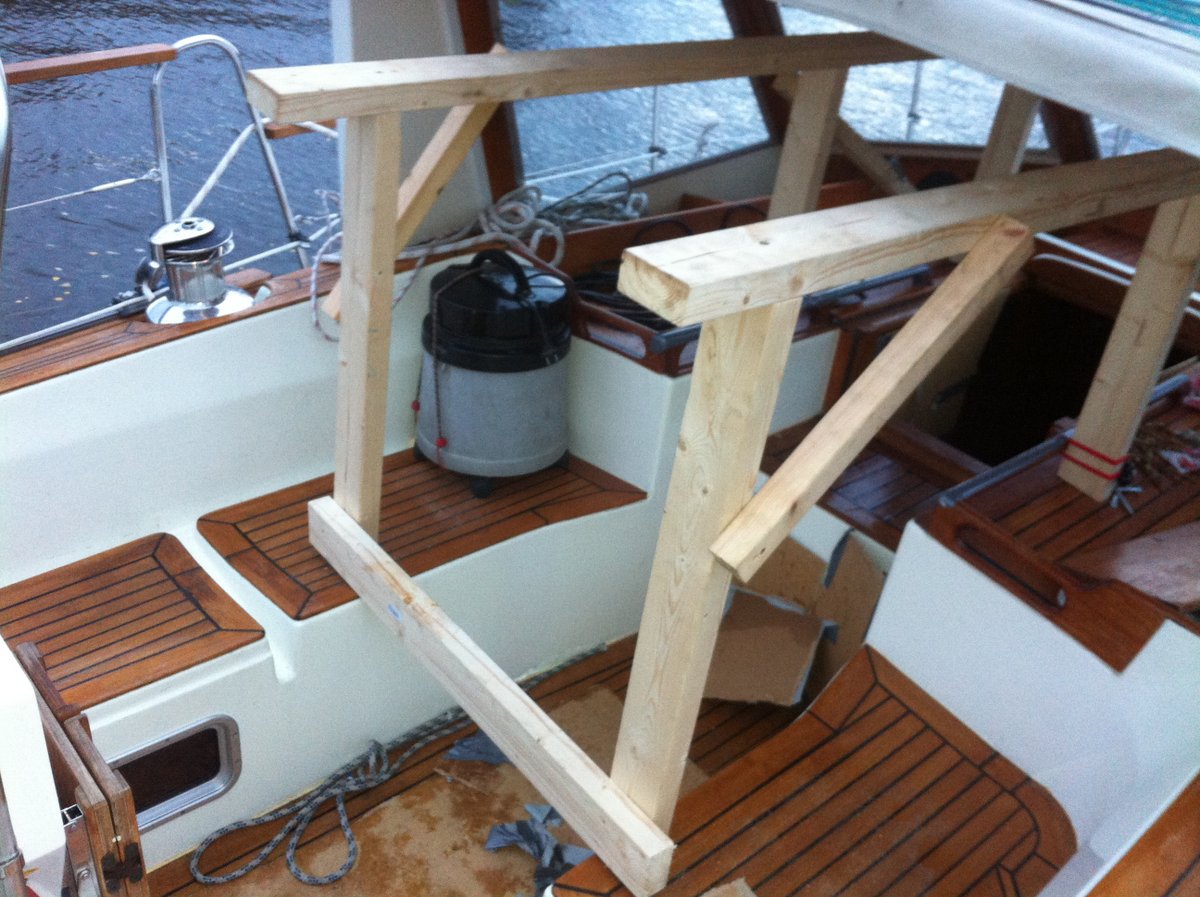
Removing the old engine stand and prepair it for to be moved forward and down into the boat.
The higly improvised engine installation beams
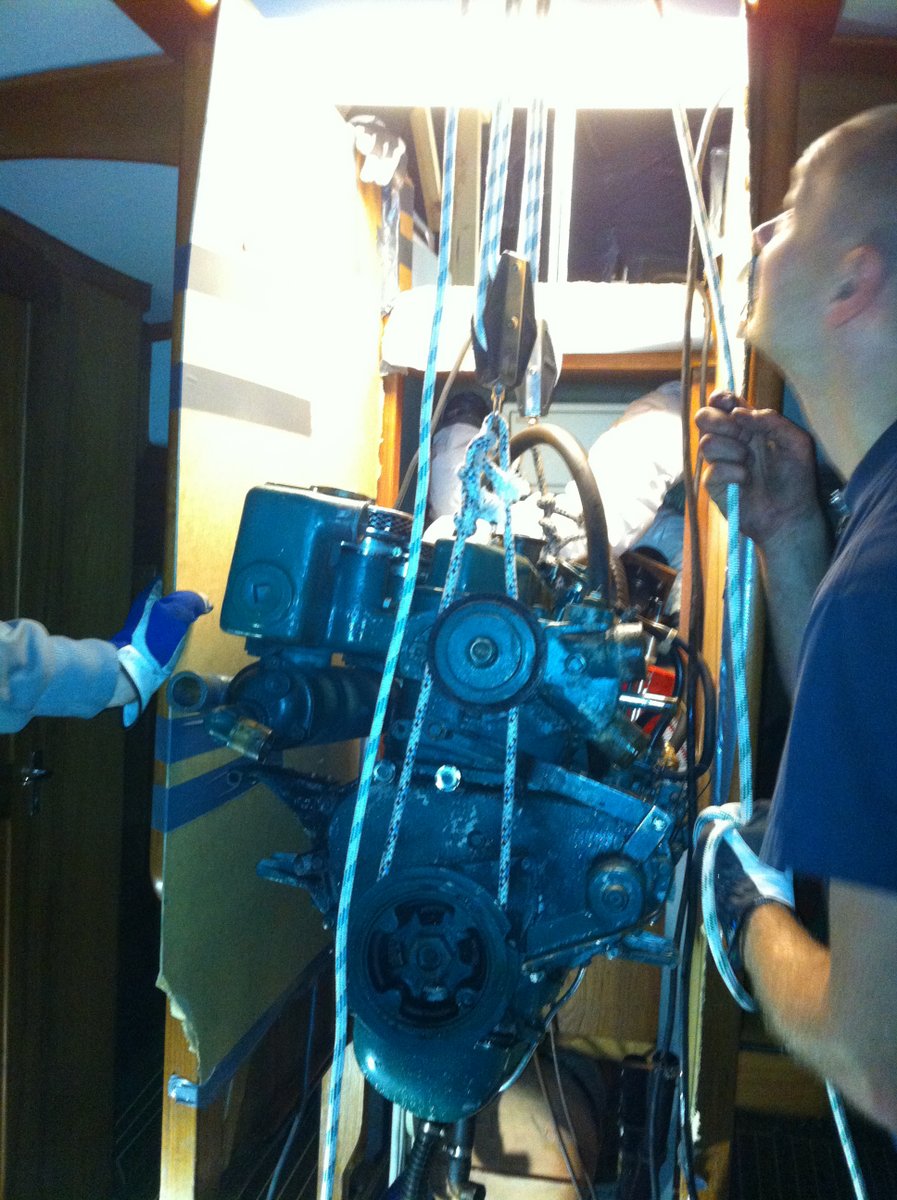
Lifting out the old steamer with the help of the sheeves to the back stays
2013-08-20
So, the old steamer is sold to serve in a Nimbus 26 motorboat, it will be lifted out of the boat at the same time as when she is hauled for the winter. Now the investigation takes a new pace. I will start to look at the Craftsman, maybe already this week.
There is a boat convention in March every year and it is there it is usually best to look, bargain and buy a new engine but I dont knoow if I want to wait until then,
Hmm, to be continued.
The engine makes still good work in the boat, it may well last many years since it is of a strong construction and it has been well maintained.
My only reason to replace it is conveniance, I know exactly what to expect of a new engine, at least I hope.
The engines I am looking at as possible replacements have between 50 to 87 hp:
1. Volvo
Penta D2-55
2. Vetus
VH4.65
3. Craftsman
CM4.65
4. Lombardini
LDW2204M
5. Solé Mini-62
6. Nanni N4.60
7. Beta Marine 75
8. Craftsman CM4.80
9. Lombardini LDW2204MT
10. Yanmar 4JH4-TE
11. Volvo Penta D2-75
For easier overview and data collection I have created an Excel sheet with
the most important datas in.
The engines are sorted in HP with the weakest at the left
You may download it here
The content will be changed without further notice.
I will consider these parameters to be favourable, not in order of importance:
1. Normal aspiration (no turbo)
2. Large displacement
3. Low wheight
4. Strong alternator
5. Cast iron core engine rather aluminium
6. Dry cylinder walls
7. Service network
8. Reasonable price
9. Stylish layout of control panel
10. Ease axxess to engine service points
11. Low noise
12. Able to replace engine oil from remote (not only from below engine pan)
13. Self priming if runned dry of diesel
2013-08-28
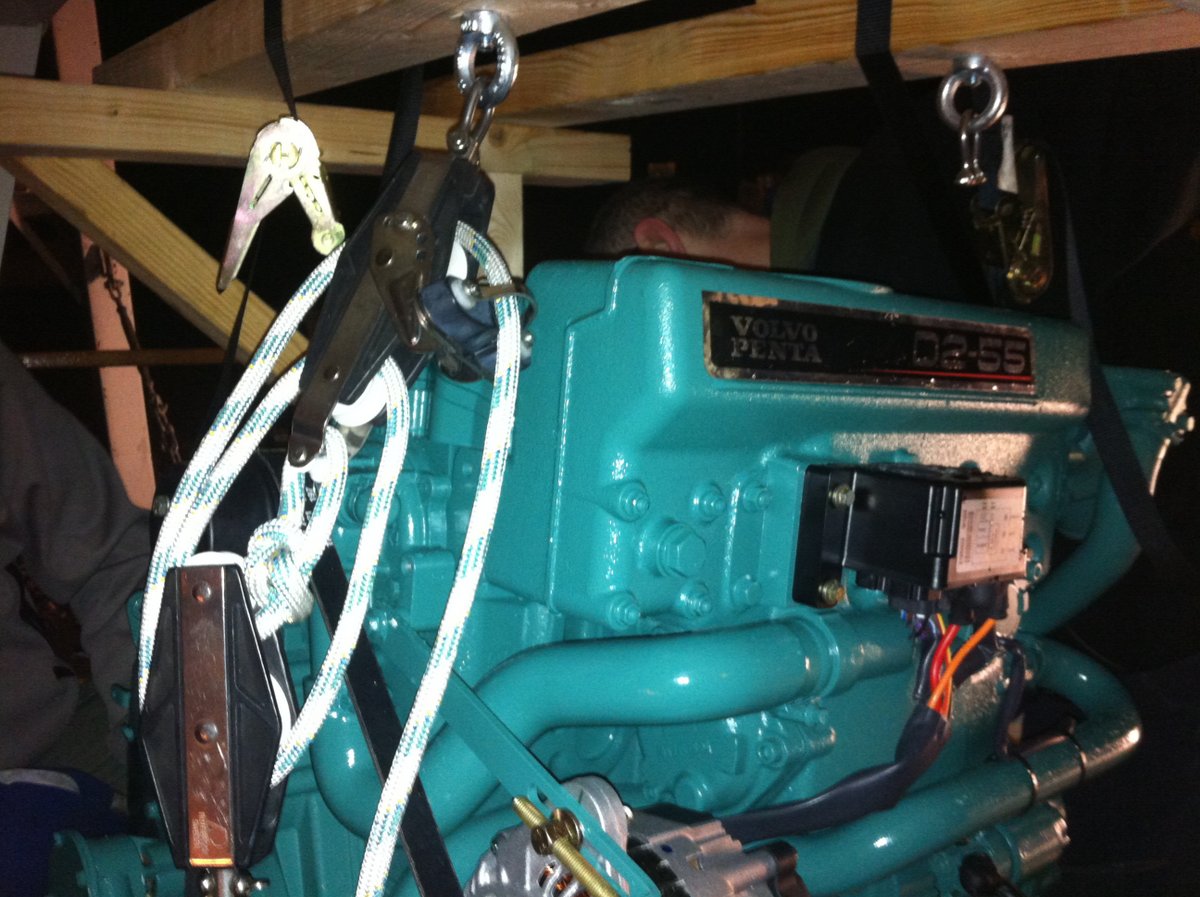
I have now placed a firm order on a Volvo Penta D2-55 Bobtail (without Gearbox)
I have ordered it from the same Vovlo Dealer as I bought my D1-30 for my previous boat (Scanmar 35 Isabelle) Brohäll Marin located at Bullandö Marina at Värmdö here in Stockholm.
The main reasons are:
1. Its a Volvo
2. Priceable high quality engine developed 2008
3 . Low RPM
4 . Medium displacement
5 . No turbo
6 . Easy Servicing
7 . Same installation width regarding the engine mounts
8 . CAN Bus technology that makes it possible to display engine parameters on
compatible plotters
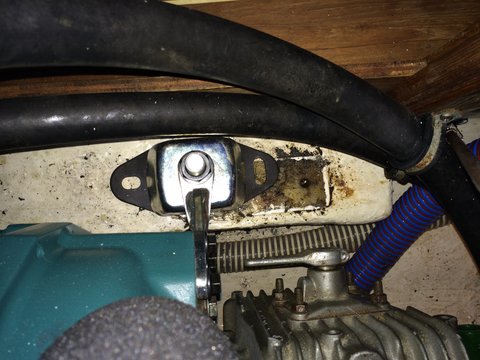
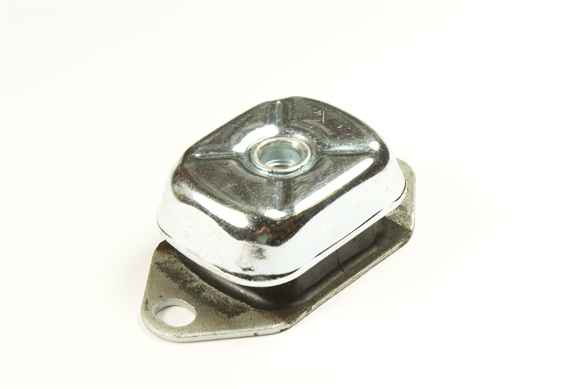
When I was lifting the engine to get access to removing the oil sump tray I found that all engine mounts felt loose, when I pushed the top bolt I heard a squeeking sound and the top cover moved very easily. I removed one of them and I found that the top cover was not attached to the thick rubber.
I have made a picture and marked with red where it is not attached.
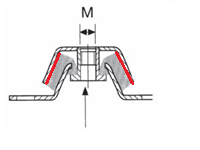
Searching the internet I found an identical mount at AV Industrial Products in England.
So I have now ordered 4 new ones.
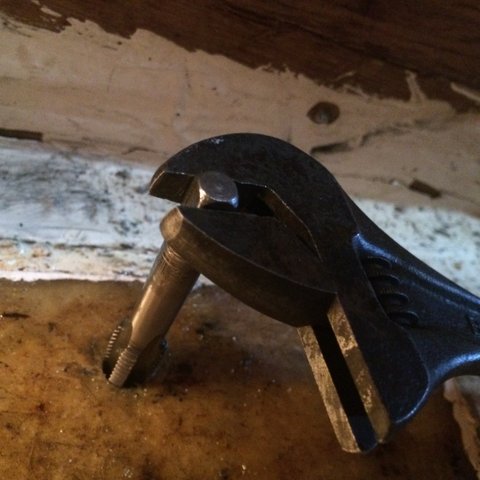
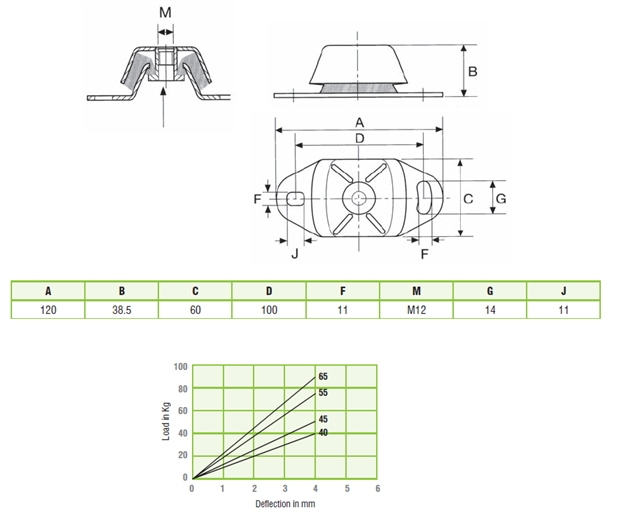
This is the one I removed. The new mount has provision for a M12 bolt but it seems as if my old mount has a M16 bolt wwith a M12 at the lower part. I will go to work with it today to see if it is so.

And here is picture ad a Table of Spec for the one I have ordered.
2013-06-03
The mounts are now installed and set to work.