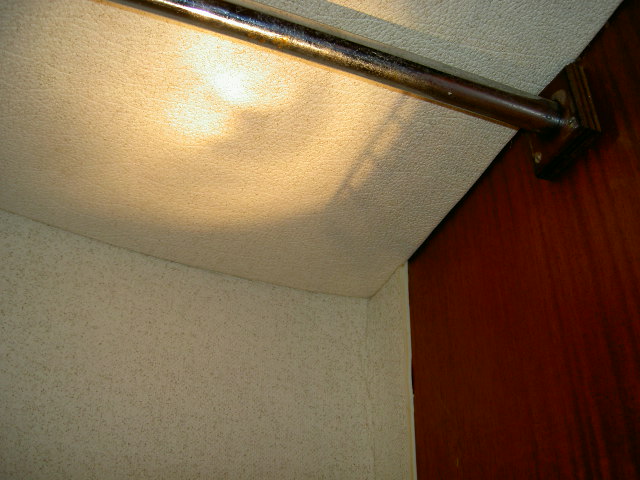
This is thru the closet in the companionway, this is one of the most easiest one.
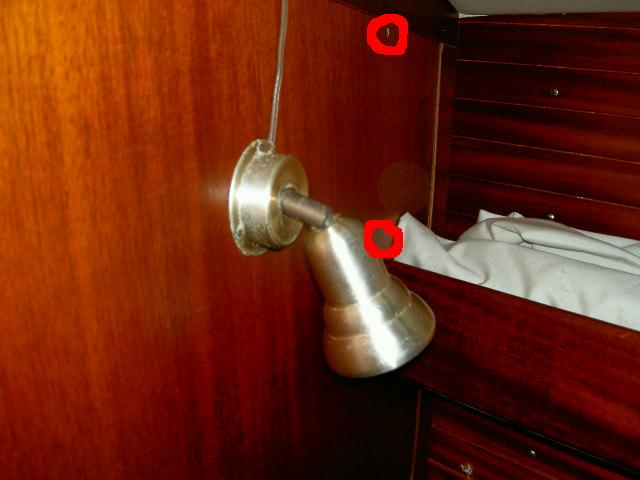
How to gain access to the bolts holding the stanchion mounts.
Left no:1 (left most aft)
This is thru the closet in the companionway, this is one of the most easiest
one.

Left no:2
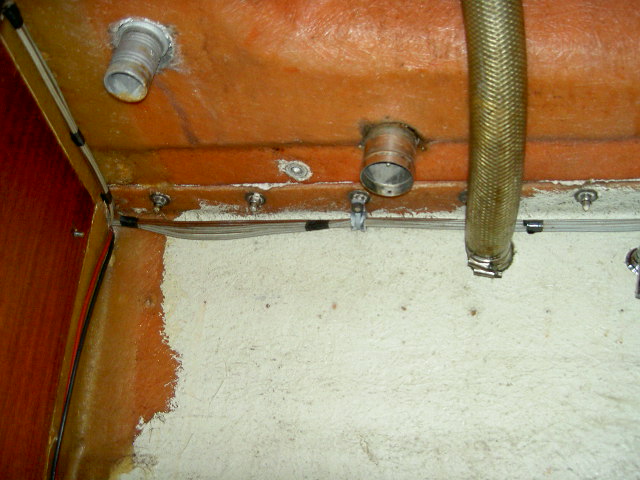
Here one must remove the big cover at the top of the shelf over the owen. Before
doing soo you have to remove the grablist going all the way from the forward
bulkhead to aft of the pantry. This is installed with a number of brass screws
from below, be carefull the screws are easiely damaged.
1 Remove the grablist (the 10 feet long wooden list belove the windows)
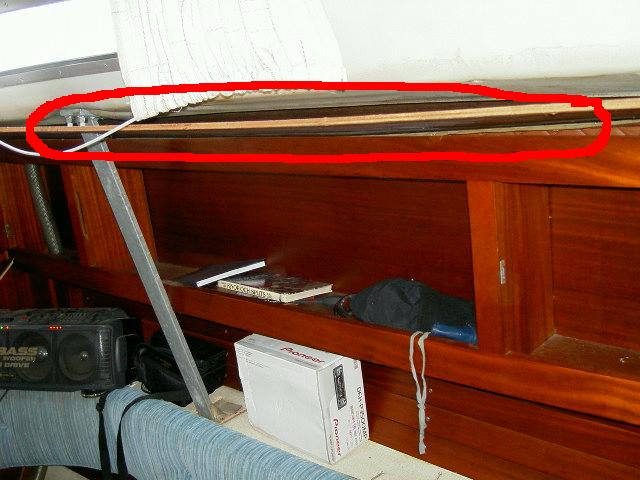
2 Remove the trim at the aft end.
3 Reomve all screws holding the big cover at the top of the shelf, over the
owen.
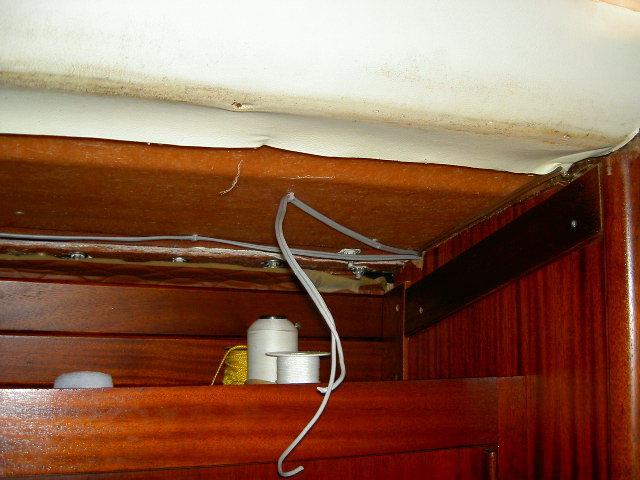
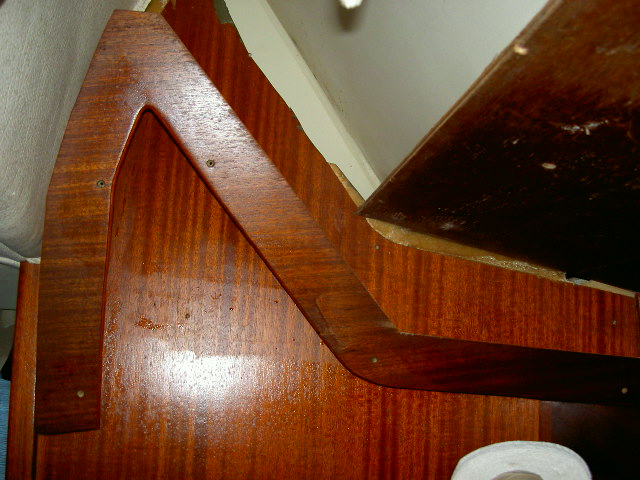
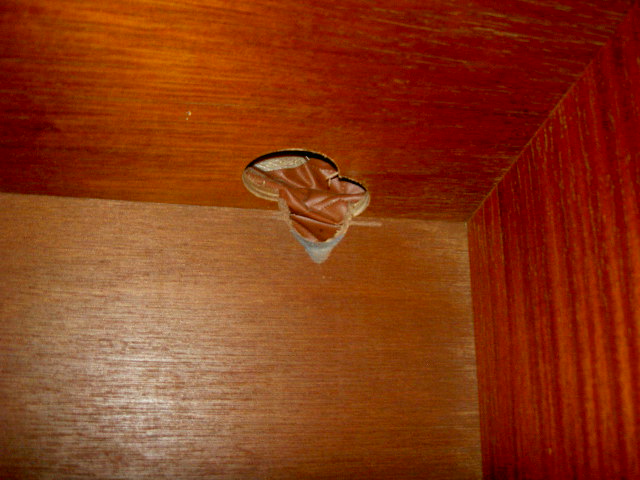
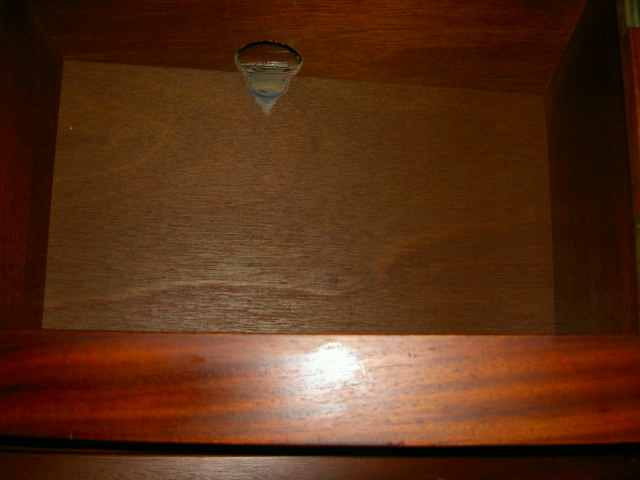
Left no:3
Wow this is the tricky one on the left side.
1 Remove the vertical trim at the most forward end of the shelf module (in the
saloon and against the forward bulkhead).
2 Remove the 2 screws holding the shelf module from within the forward perth.
3 Remove the srews holding the shelf module on to the big horizontal cover from
within the bookshelf itself, screws are vertical and unscrews from below.
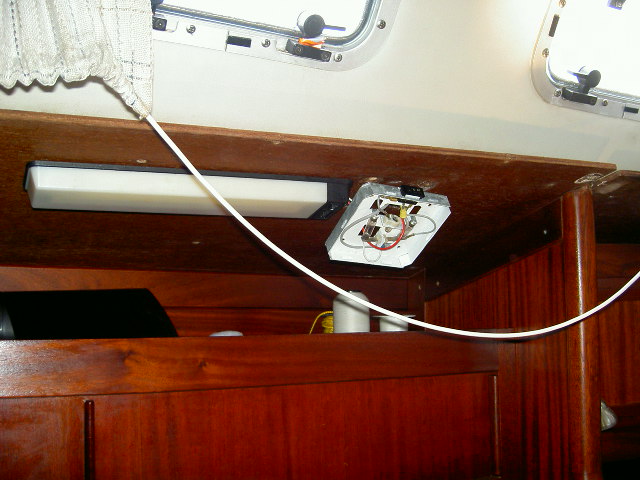
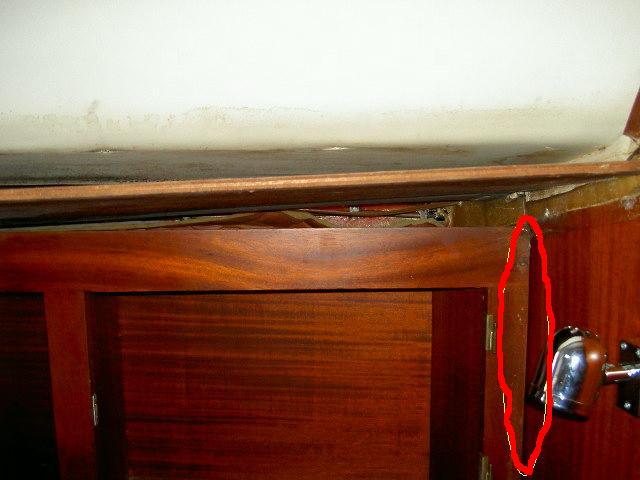
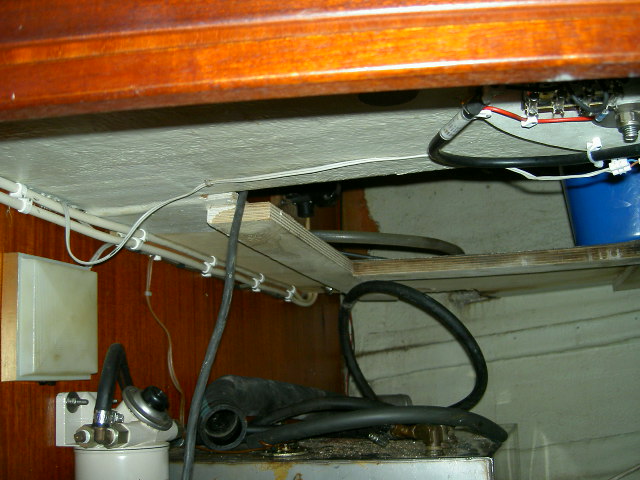
Right no 1
This is a beatiful one to replace. Easy access thru the stowingbox in the cokpit.
A tip, remove the floor in the stowagebox (the one that leads to the engine
room) and access the stowage box from the engine room. Perfect position to work
from. Only now I also realize that its a perfect place to be when bilging the
keel. But WHO Can be There When Doing The Shokashooka On The
High Seas. :-)
and for access go thru the engine room.
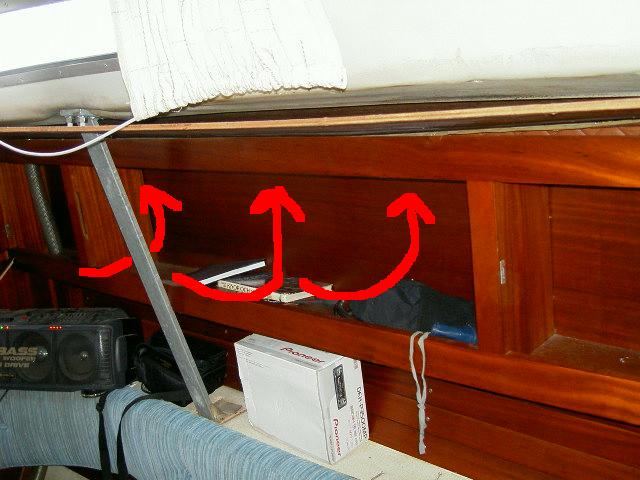
Right no2 and 3:
Its time to get lazy, on the starboard side I decided to saw my way
thru the interior. Its saves like tons of time and swett. And it's actually
not so misscrediting either.
Right no4 is just as the Left no4.
So before installing the new stanchion feets (as we call them here in vikingland)
I need to work on the cracks around some of the feets in the gelcoat.
Will insert some pics later on the complete installation, probably around April
2005.